Followers

Friday 27 September 2013

http://dragonslairdesigns.com/shop/index.php?main_page=product_info&cPath=403_406&products_id=1838

For this weeks Stamping Dragon Design Team Inspiration piece I used the Ruperts new friend digi. I know Ruperts a boy but it can also be generic which is why I coloured him pink. I coloured the image with promarkers and cut it out with a die. While the die was still on the card I used a soft green ink to edge the image. This was really a quick card to do as I used a 6x6 card for a change and the papers were from my craft scrap stash. I put the image on green mirror card with a pink behind. Then on the right side of my card base I put a pink and green patterned section on the same pink mat card. I edged the image in pink and green gems with a metal flower and a pink ceramic one on top of my  tag sentiment. I used the same ceramic flowers down one side of the pattern with a green wooden flower and green half pearls on top.

Friday 20 September 2013

Hi crafters for this weeks Stamping Dragon Design Team I used the image Rupert with tomatoes http://dragonslairdesigns.com/shop/index.php?main_page=product_info&cPath=403_584&products_id=1011 I've also used this image in a different way on a bauble that's already uploaded. I've turned the tomatoes into Christmas bauble proving you should always think outside the box. Anyway for this image I coloured with promarkers then used the tonic diamond swing die to cut it out, I inked inside the die b4 I removed it with green. I cut out a solid red back without the design to put behind then I mat and layered using green and red card. For the base I used 8x8 card with the same red and green layers. For the background I used plain blue card with a stamps away mask, I put glue thru the mask then covered with blue glitter and left to dry. I placed my layered image on this and cut some Ivy leaves with a crafters companion die in blue and green. I used red gems from my stash on these and down the side and finally I put some tiny butterflies on from my stash. Let me know what you think plz.

Tuesday 17 September 2013

These were made by my mate Cathy & I this is our 2nd attempt! They're made with a stamping up stamp and die set & red and green ink. We added some feathers and a gem in the middle. Great Christmas decorations
Hi Crafters here's my lastest craft items. Mdf baubles top left is made using adhesive sheet then a plastic xmas tree mask(don't use metal they get destroyed trying to take them off whereas plastic bends) over & blue mica beads in it. Remove mask & cover the rest with gold mica beads. I put some purple dew drops round the edges and a gold tree on top of blue. Then some blue & purple half pearls 4mm to finish. Top right is adhesive sheet 2 green & a purple glitter on top then another adhesive sheet on top with clear mica beads on that. (Next time I won't use the mica beads as I prefer the glitter on its own as the mica beads diffuse it. Then a mickey mouse topper glazed with some purple pull bow a flower in middle. Bottom left is card with a stencil on top glue thru and gold glitter with a topper glazed. Then pull bow & gem. Bottom right is painted with base gesso then blue acrylic then an adhesive sheet with a flower mask & gold gilding flakes. Then some blue dewdrops to highlight.
 
Top left is adhesive sheet with 3 glitters then another adhesive sheet with a wreath mask & green & red glitter (remember to use post its etc to mask of the different areas. Then a lilac pull bow & gem on top. Top right is adhesive sheet with plastic snowflake mask with blue mica beads thru then remove mask & use white glitter on rest and a gem on top. Bottom left is covered with xmas paper and a snowman topper added with pinflair for dimension. Bottom right has a white gesso base with blue acrylic paint on top. Some blue white & silver card candi around the outside and a stick on snowflake gem in the middle with a blue organza bow & ribbon and a candi in the middle.


Monday 16 September 2013

Afternoon crafters I may be attending another craft fair in our town with my mate Cathy so i'm building up some cards in case. (If I don't go i'll just donate to charity). Anyway these are just two quick cards to make they literally take 15mins each. I printed off a bauble picture then put it thru a spellbinder grand die. I found some similar card in my stash and layered it onto some red card on my usual 8x8 card. I have some fancy white shapes on centura pearl that I purchased (from someone with a cameo) and I put my picture on it then layered with foam pads onto the base. I put some small red gems on each of the snowflake designs on the baubles and layered some gold & red ribbon horizontally. I found a sentiment I had already made by embossing on red card with gold powder & I cut it out with a die then cut another layer in gold. I took some of the same gold ribbon and made a bow and I put some red & gold gems on this to finish.
 
 
For the card below I simply printed off an image & cut it out with a grand die again. I found some matching card in xmas colours & lay this onto my 8x8 card. I put some gold mesh glitter ribbon vertically with some cream with gold stars on the edge on top. I cut 2 Ivy leaf sprigs with a crafter companion die in green & rubbed some distress ink in green on the edges. I used a poinsettia from may stash and placed them all on the corner to finish.
 
Let me know if you like. xx


I did this for the September colouring challenge over on Stamping Dragon Designs facebook page https://www.facebook.com/groups/427447597324391/. I was given the cot image & believe it or not this is my 3rd attempt to finish it. I messed up the cutting out so my lovely lover ordered me a proper craft knife. In my defence I've had to have an op on my left hand (which worked) and next will be my right (soon I hope). Ok so I coloured my image with promarkers to match some lovely card I had in blue lilac & lemon. I used an 8x8 card then layered my patterned card onto some navy and left an inch border at the left. I diffused the pattern card with some pale blue vellum with dragonflies on it because (I thought i'd kill two birds at once and keep it for my daughter who's expecting my first grandchild a boy in Nov) and I knew she'd think the pattern paper was a bit girly lol fussy thing. Anyway I raided my stash for some accessories, I put a diamanté teddy in blue on the cot head and a large blue teddy on the cot rails. I placed my cot on the vellum and put my other accessories around it. I found some long blue diamante in a diamond and covered the edge of the vellum with it. Then I found some alphabets in green blue & lilac and placed the word grandson down the left where i'd left my blue border.

Friday 13 September 2013


This weeks inspiration project for Stamping Dragon Designs. This is not an image I would have chosen myself but once I had it I was smitten lol. I found this a really easy image to use. I used promarkers to colour different sections of the bone to match a paw print card I had in my stash. I took a piece of creata mirror board in a vibrant orange and used an ek success lattice punch on both edges and layered my bone on it. I cut another piece to fit an 8x8 then layered my paw print on it. I used a crafters companion icicle die to create the  grass out of scraps of mirror board in co-ordinating colours. I used a tattered lace dandelion die in different colours & layered them. I added a sun from my dissected jewellery stash and some cat, dog, & rabbit buttons with a toadstool & ladybird to finish.
http://dragonslairdesigns.com/shop/index.php?main_page=product_info&cPath=314_320&products_id=2177

Tuesday 10 September 2013


Right folks back again for a quick update I'm having sick pet trouble this week so i'm frazzled but I've managed to do a few mdf baubles & I did a couple more xmas cards with my mate Cathy hope you like. More baubles coming soon. xxx
 
 A quick card as I already had the background & I used a topper. The background is a mask with glue thru and purple glitter on top. The topper was the perfect colour for it so just layered it on some purple & red card added a purple poinsettia and some silver ribbon.


This was just a straight forward piece of xmas paper & a crafters companion topper frame & sentiment with some red & gold ribbon from my stash & a white poinsettia.


I folded a sheet of a4 card & scored for base put a paper ribbon about a third of the way up to draw your eye line in. I put red tape on four sides of a frame and silver glitter & used a silver pen for the fine bits. I layered a hd topper on some red card and placed behind frame. I finished with some red dazzlers & a white feather.

 
Just a plain simple box kit from hd but I liked and made a template for future use :)


One side of mdf baubles they were all painted with white gesso then texture paste put thru some xmas cooking masks (just for craft now)lol. The red is a pan pastel colour and the purple a generic ink.


The next two the purple is clear texture paste as one above & purple ink then a metal gold snowflake with a purple dazzler in middle. Finished off with some purple dew drops top & bottom.


This is the other side of the top two. The  left is covered with an xmas paper & a red poinsettia pushed out from a sheet & layered with a red dazzler in middle & some red dew drops on leaves. The purple is a poinsettia stamp, stamped in purple & embossed in clear. Then cut out & shaped with the dazzler & dew drops again.

 
Lid of hd box.

 
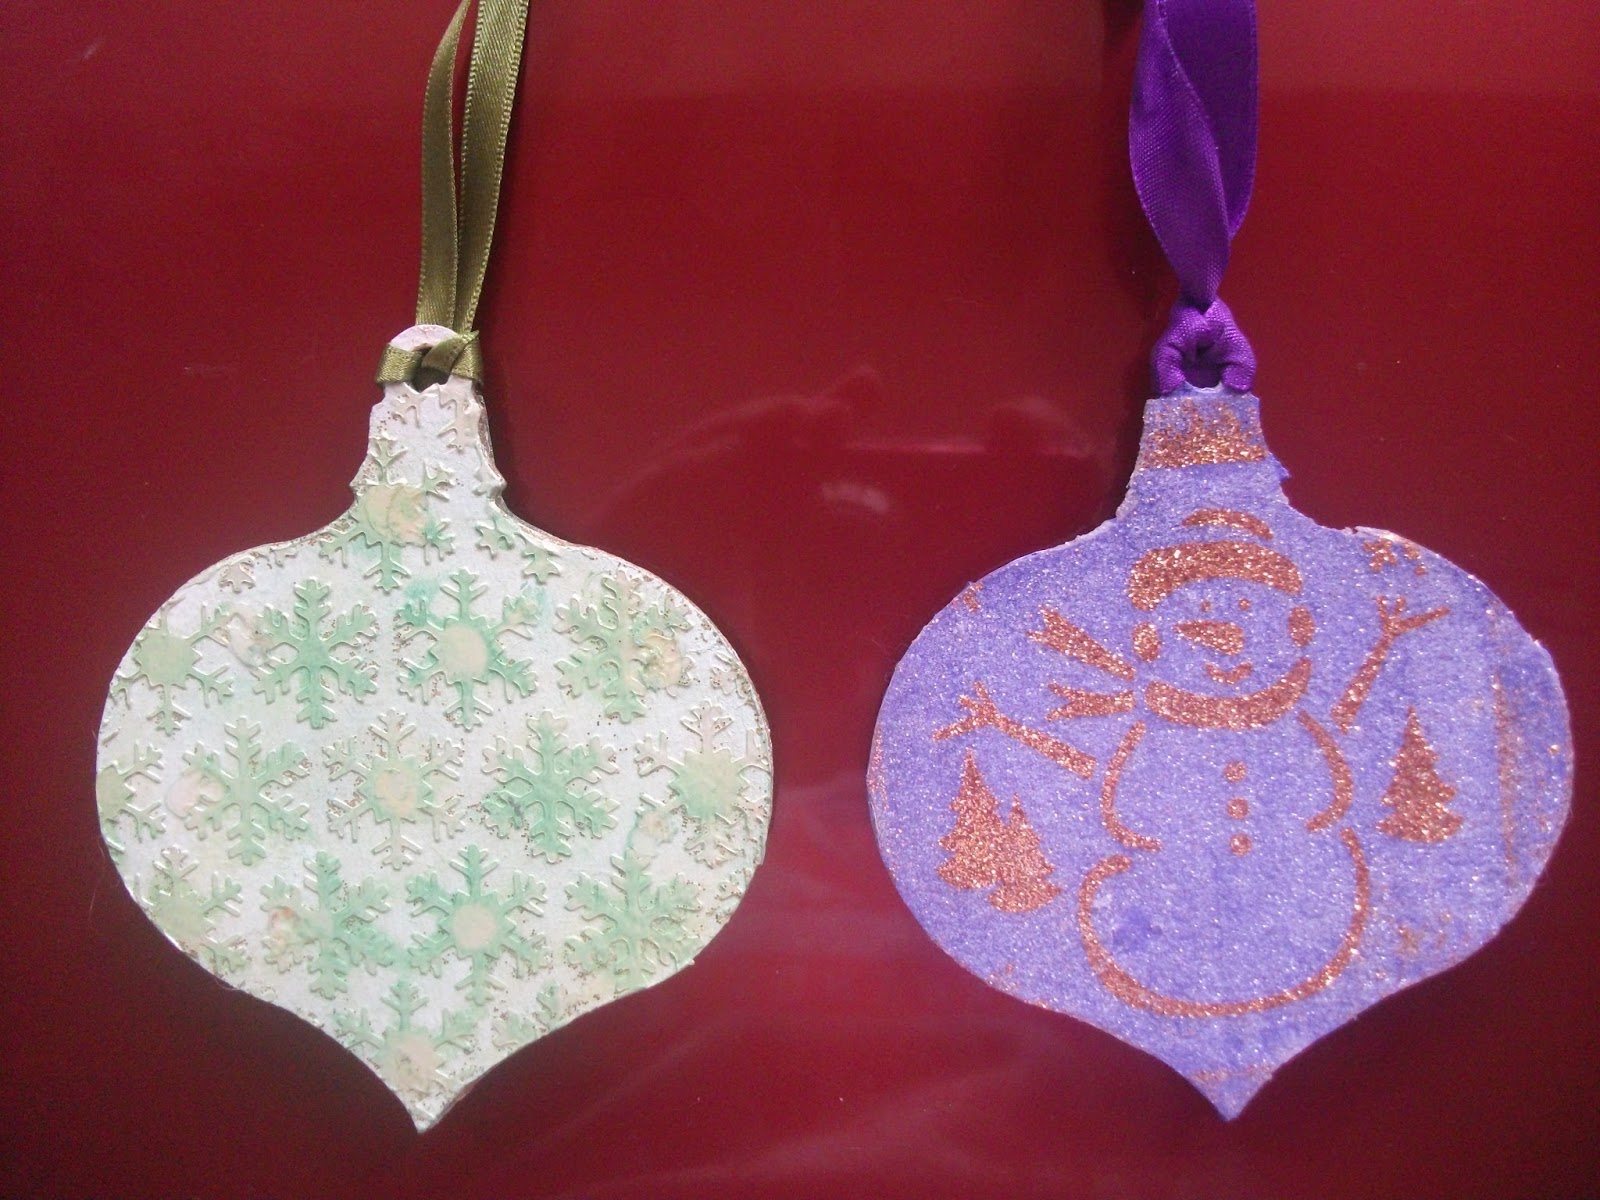
Other side of second two. Left is the clear texture paste on white with gold gilding wax & a green pan pastel. The Right is purple ink with double sided adhesive on top & stencil on that. Gold glitter thru take off stencil and glitter all over in white. Easy though i'm not sure I like this one!
 
 
This is an image I love coloured in promarkers with polar white flower soft on the snow. Its layered on some red card then on pale gold with gold snowflakes & a paper ribbon in gold. Then on some embossed gold card & the card itself is an a4 Christmas sheet folded & scored in half. Finished with a red sentiment & 2 poinsettias from stash.
 
Hope you like xxx

Friday 6 September 2013

My first project as dt in Stamping Dragon Designs a beautiful heart image with friendship is a special kind of love sentiment inside and a faux stitch around the edge. First I printed the image from sdd onto yellow vellum (you should always try printing your images on different mediums). And once id decided my colour scheme off I went. I took an 8x8 card in ivory and layered sunny yellow glitter card onto it, then I took some patterned create mirror board and layered it onto the yellow & finally I took a paper from a popcorn cd that had hearts on it too and printed it off in brown and this was my final layer for my base. I took the same yellow glitter card drew round my image onto it and cut it out and placed it behind my image and this made it pop. I layered it onto the same brown & yellow card from the base and offset it on the front of my card. I took some brown velvet ribbon & some yellow and put them on vertically on the left side. Then I just raided my stash. I found some small yellow hearts for the bottom of the image and put a piece of yellow ribbon thru the loop in a dissected heart necklace & put them under the image. I had some gold metal flowers which I placed on the right with three ceramic yellow flowers in the middle of each & put some fine gold pull bow ribbon on the top left to finish Hope you like.