Followers

Showing posts with label die. Show all posts

Wednesday, 27 February 2019

Vellum Gift bag Tues 27 Feb 19

Hi again folks

Today we're making a cute vellum gift bag for a mini deodorant.  Perfect for those upcoming leaving for a new teacher gifts.

The measurements are - Vellum 9 x 8 score LS at 1 7/8, 3 3/4, 3 5/8 and 7 1/2
SS 1 7/8
Insert - 1 3/4 x 5 score LS at 1/2, 2 1/4, 2 3/4, 4 1/2 and 5


What I used

Gold Foil Printed Vellum from Ultimate Crafts
Stampin Up Scallop Tag Top Punch
Bow from Stash
Free stamp and die set from Papercraft Inspirations 178 June 2018

Once again I hope you like
Till next time

Jacqui out xx

Facebook
Youtube
Pinterest
Instagram: jacquimckissock

Thursday, 12 April 2018

Handmade Stampin Up Half exploding coffee cup gift box

 Hi folks,  Jacqui back again with another project for you.

Today we're making a coffee cup gift box with a statement bow!!!

I'm bought some coffee cups and coffee packets to make some projects and this is what I came up with for the coffee cup.

 And this is what it's like inside.  The coffee cup is held securely in place and the top of the box explodes down.

For this one I've used Whisper White card, Foil Frenzy in blue and some Kraft Card.  I used a decorative punch from X cut for the edges of the explosion section.

For this one I've used Black card, Golden Olive Card and the green Foil Frenzy.

The bow for the top of my box is from Tonic Studios.


Measurements in Inches

Insert for Coffee Cup 8 x 4 3/4
Score SS at 1 each side
Score LS at 1, 3 3/4, 4 3/4 and 7 1/2.

Box 9 3/8 x 9 3/8
Score 1 1/2 and 3 1/4 all sides

Outside layers (4) 2 3/8 x 1 5/8
Inside layers (4) 2 3/8 x 1/2

Lid Re-inforced 7 x 7 
Score all sides at 1 and 2    

Layers (1) 2 3/4 x 2 3/4
(4) 2 3/4 x 3/4        

Stampin Up Products Used             


Email:  jacquimurphy1@hotmail.com

Hope you like my project

Till next time

Jacqui out xx                  

Thursday, 22 March 2018

Creme egg explosion boxes


*** Please note more blog trouble!!  I'm so sorry I can't reply to comments on my blog atm!! And I can't load my videos in blog post still ***

Hi folks Jacqui back with another project for you.

Today we're making our last Easter box and it's an explosion box!!!

Hope you like it.


 My first is in Rich Razzleberry with Fresh Florals and my second is in Garden Green with Fresh florals.

I've used the Its a Good Day stamp set in white embossing powder adn the A magical day stamps and die bundle.
Measurements in inches

Base 6 3/8 x 6 3/8 score all sides at 2 1/8
Cut away all four corner sections and punch or round corners
Dsp 1 7/8 x 1 7/8

Egg Holder 3 x 5 1/2 score Short Side 1/2 both sides
Score Long side 2, 2 1/2, 4 1/2 and 5
Draw on the underside of top square diagonally from each corner to enable you to punch centrally.
Use 1 3/8 punch for hole

Lid 4 3/16 x 4 3/16
score all sides at 1
Dsp 1 piece 2 x 2
4 pieces 2 x 5/8

Once again hope you like it 

Email: jacquirobinson6@gmail.com

Stampin Up Supplies Used


Till next time

Jacqui out xx


Tuesday, 20 February 2018

Stampin Up Touches of Texture Series Project 3 and Sunshine Wishes dies from Stampin Up

Hi Everyone

Jacqui back again with another tutorial for you.  For todays creation I made a top fold/tent card.  This was a pretty quick project but it's so pretty too.


For this project I used the stamp from Touches of Texture all over and then ran it through my ebosser in a free embossing folder.  I cut my flower from the inside of my layer of Glimmer Paper as it can be expensive and then put my stamped section over the top.  Once I added the flower from Sunshine Wishes dies I cut my word out 4 times in black with stick it on it.  I only meant to cut 3 in black and one in glimmer paper lol.  After layering them all on top of each other I put some Imagination Crafts glitter on the top.  It came out ok but next time I'd use the Glimmer Paper.

Card Dimensions

Black Card for base 11 1/2 x 4 1/8 scored at 5 3/4
Glimmer Paper layer 3 7/8 x 5 1/2
White stamping section 5 1/4 x 3 5/8

Stampin Up Products used:

Black Card                                             121688
Whisper White Card                              106549
Glimmer Paper Myths and Magic          145601
Touches of texture double stamp set    143251
Sunshine Wishes dies                          141489

Facebook Page:JMC creates


Tuesday, 30 January 2018

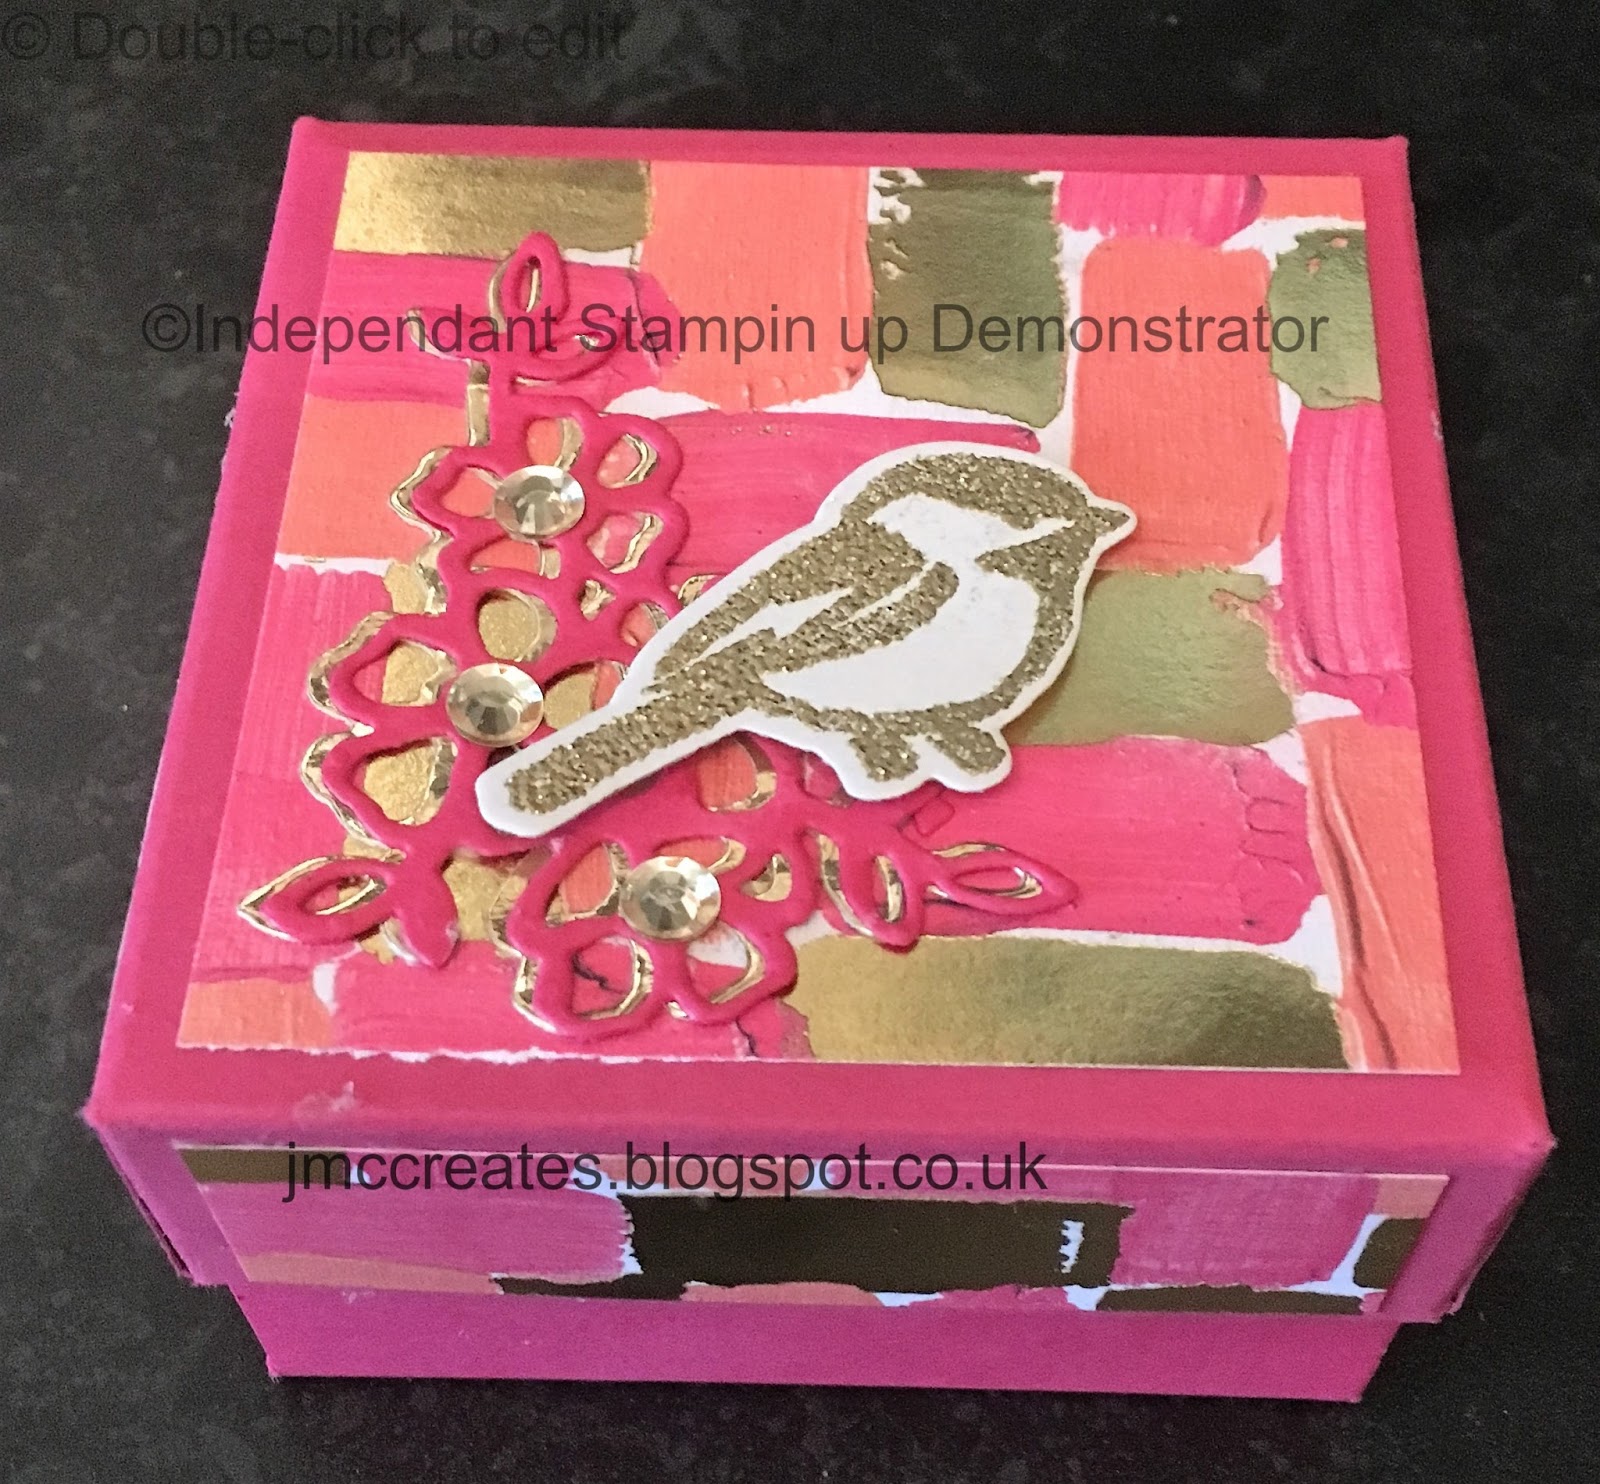
Napkin box using Stampin Up Painted Love Dsp and Petal Palette stampss

Napkin Gift Box

Hi there again crafters, Jacqui here with another post for you.  Today I made a box for some body butter and I used the napkin fold technique.  I simply altered a turorial by Mixed up craft https://www.youtube.com/watch?v=lldgBGiJ7D8 to fit a 3x3 base instead of 6x6.  I think the pinks and golds together are so pretty!


This is a pretty elaborate box and it doesn't take much to do it.  As my box base is 3"x3" and the sides are 1 1/2 I used started with a piece of card that was 9"x9" as I made my sides re-inforced.  Simply score all 4 sides at 1 1/2 and 3. The lid is 7 1/8 x 7 1/8 and is also re-inforced score all 4 sides at 1" 2".  


The napkin section uses a piece of 6"x 6" card.
This is the Mixed up Craft tutorial I followed for the actual napkin fold https://www.youtube.com/watch?v=lldgBGiJ7D8


These are the supplies I used from Stampin Up

Simply scored                                      122334
Painted with love Dsp                         145580 
Petal Palette Stamp and die bundle     145974 
Gold foil card                                       132622
Painted with love 12x12 card pack      145582

I do hope you like my project and give it a go till next time

Jacqui over and out xx


Thursday, 25 January 2018

Card making Day

I've been a magpie today!!!

Today i've been playing with shiny stuff lol!  I got some new stampin up dies and stamps yesterday so I had a play day today and here's some of the stuff I used.  You can get full details at end of post.  I do love a bit of shine don't you?  Or am I the only magpie I wonder? Hmmm I think not lol!


Yesterday I made my first card in ages as I've been doing 3d projects for the local charity shop.  I got new stamps and dies from Stampin up and I couldn't wait to play!!!

I created this beautiful rainbow card first and it put me in the mood for colour and shine.  For this one I used the new rainbow builder framelits.

Today I got my foils out and using stick it and double sided tape I created the following cards.
 For this one I put some stick in onto some card and die cut it with a Tattered Lace background die.  I then used some gold foil and some myths and magic glimmer paper for the layers.  The love is from Stampin up Sunshine Wishes dies.  The Banner is a homebase die.  


The heart one is some silver foil on card with stick it and coloured in lines with Spectrum Noir pens.  The heart die is a Sue Wilson cut out of white card and the foil is behind on foam tope.  The hugs die is cut from Stampin Up Lovely Words Thinlets.


(The card bases are all 5 3/4 x 4 1/8)

For the next card I put some double sided sticky tape diagonally across the card and lifted one section of at a time and put some scraps of foil in different colours over it.  The Celebrate and you are from the Celebrate You Thinlets which is free when you spend £90 or more during Sale a bration.  The butterfly is from the Sunshine wishes dies and I used a navy blue layer. For the pink one I cut out the dies from some foil on card scraps and decided what way I wanted them to look.  Next I stamped the you from the amazing you stamp set (free with £45 spend during Sale a bration) in silver embossing powder, I then put the top section about 2/3 of the way down into an embossing folder and ran it through my ebosser. After that all I had to do was stick the die cuts down and layer on some gold card. 

So I hope you like my first cards in ages if you want any supplies or have any questions please contact me at jacquirobinson6@gmail.com

Supply list 

Myths and Magic glimmer paper             145601
Sunshine Thinlits dies                              141489
Lovely Words Thinlits dies                      143733
Celebrate you Thinlit dies                        146480
Night of navy cardstock                           106577 
Silver Stampin emboss                             109131
Silver Foil                                                 132178
Gold Foil                                                   132622
Rainbow Builder Framelits                       145659

Till next time Jacqui over and out xx


Sunday, 21 January 2018

Valetines Project No 4 Fun fold pillow box using Stampin up products and a Ferrero Roche

Tiny Ferrero pillow box


Hi folks i'm back with another tiny project for 1 Ferrero Roche. 

 This time it's an unusual pillow box made by Heidi Smith of FlutterbyHeidi (link below).

This time i've used one of my favourite Stampin up Dsps it's called Foil Frenzy and I hope you can tell how luscious it is from the picture.  And as you can tell it's perfect for a Ferrero Roche, which I think are a great valentine token.

This project only uses a tiny amount of Dsp 5 1/2" x 4".

I also used stampin up dies for the tag and behind the sentiment and I used a punch for the sentiment (details below).


Heidi's tutorial:


Supplies used: Foil Frenzy Dsp                         144125
Tag from Swirly snowflakes Thinlets                  144678
Diamond Shape from Eclectic Layers Thinlets  143774
Classic label punch for sentiment                      141491
Hello Friend from A Good Day Stamp set         145873

If you'd like any supplies etc please contact me at jacquirobinson6@gmail.com

Hope you like my project 

Till next time Jacqui over and out xx

Valentines project No 3 Tiny exploding handbag for 1 Ferrero Roche using Stampin up

Tiny explosion handbag

Valentines Project No 3

Hi again guys, gals and crafting pals i've popped in today to show you a mini project, I got this tutorial from Helen Griffin on youtube (link below) and it's awesome.  I've used some retired 6 x 6 Stampin up dsp and the sweet and sassy framelits.  It's very quick and a perfect little valentine gift.


This is the link to Helens project https://www.youtube.com/watch?v=G4DMHqhd4x4


The with love and for you are tiny dies from my stash but you could use a stamp instead.

So I hope you like my project, till next time,

Jacqui over and out xx


Wednesday, 17 January 2018

A Stampin up Painted with Love Dsp card and some stash, sectioned Ferrero Roche box

My Sectioned Ferrero Box (re-inforced)

Valentines project No 1


Hi again guys gals and crafting pals  Jacqui back with a Ferrero box using the Stampin up Painted with love DSP and card pack and loads of stuff from my stash.

I've decided to do some valentines ideas for you that won't break the bank and still show you care.  


Top of Box 


I've popped in to show you this lovely little box i've made for four Ferrero Roche. 
 I used the following:
 Stampin up Painted with love Dsp and card pack
The sentiment is from Stampin up Petal Palette
Retired balloon charm from stampin up
Gold thread from stampin up (to tie charm on with)
The flower is a Sue Wilson die
I cut out the top of the box with a Tonic insert die
Tag is from Hobbycraft
Gems and ribbon from stash
Die to cut sentiment out is Tonic


The measurements are Base (re-inforced) 10 5/8 x 8 1/4
Score all sides 1 3/4 and 3 1/2
Cut away 3 squares from each corner and wedge the remaining

Lid (re-inforeced) 8 1/4 x 8 1/4
Score all sides 1 1/8 and 2 1/4
Cut as for base.
Remember to die cut BEFORE sticking!!!

The flower is from the Painted with love Dsp and a white overlay on it.

The inserts measure 3 /12 x 3 1/2 you need 2.
Score at 1 3/4 on both
Cut halfway down from the top of one and the bottom of the other and place over each other.

If you'd like any supplies please let me know.  My email is jacquirobinson6@gmailcom

Anyway that's it for another day till next time 

Jacqui over and out. xxx